Getting Started
Quick Start
Install the Figma and WordPress plugins, export a frame from Figma, then import it into Elementor. Follow these three steps to convert your first design.
Step 1
Install & Connect
Install both the Figma plugin and the WordPress plugin, then connect them using your API token from Figmentor Studio.
Figma Plugin
1
Search in Figma Community
Search "Figmentor" in the Figma Community Plugins.
2
Install
Click Install.
3
Login & Connect
Open your Figma file → Plugins → Figmentor → Login & Connect using your access token.
WordPress Plugin
1
Add new plugin
Go to Plugins → Add New in your WP Admin.
2
Upload
Upload the Figmentor WordPress plugin (
figmentor.zip).3
Activate
Activate the plugin.
4
Paste API Token
Paste your API Token from Figmentor Studio in the plugin settings.
Step 2
Export from Figma
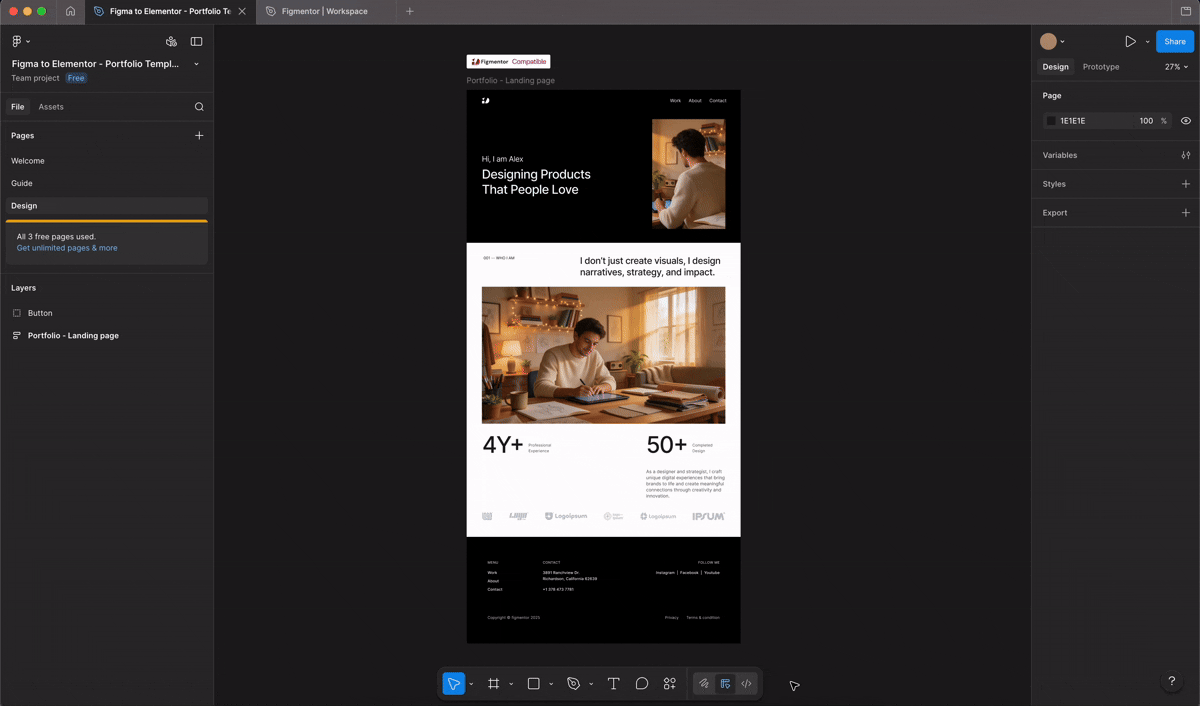
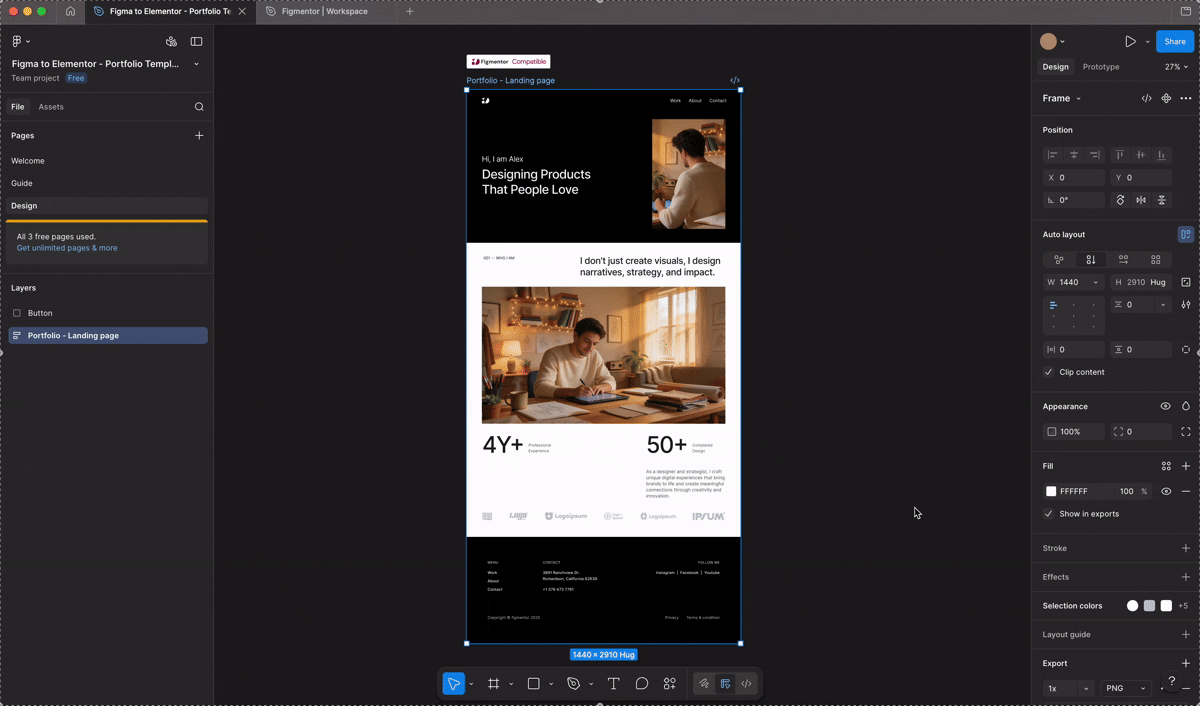
1
Select a frame
Select the frame you want to export.
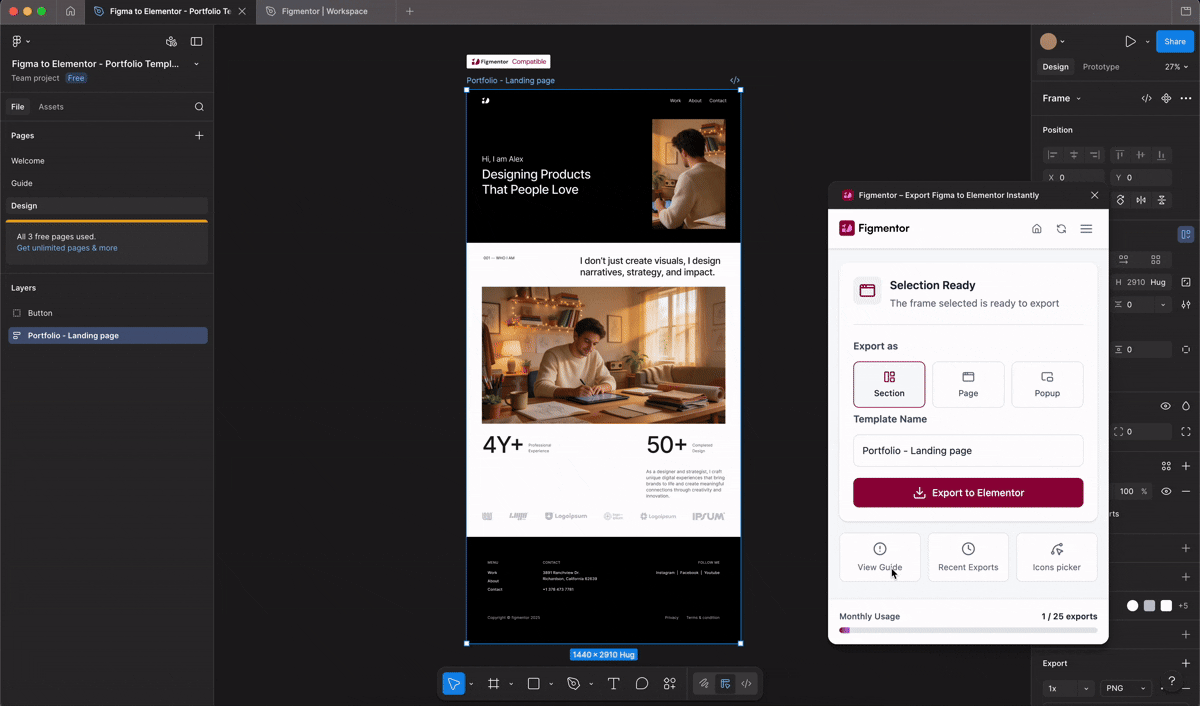
2
Open Figmentor
Open the Figmentor Plugin.
3
Export to Elementor
Click "Export to Elementor". Your export will be processed and appear in your Figmentor dashboard.
Important Notes
- You must select a top-level frame to export.
- Nested frames will be included automatically.
- Export process may take a few seconds to complete depending on complexity.
Step 3
Import into Elementor
1
Open a page or post
Open your WordPress Admin → Pages or Posts.
2
Edit with Elementor
Click Edit with Elementor.
3
Import template
Inside Elementor, use the Figmentor Widget or the "Import Figmentor Template" button. Choose your exported design → Click Insert.